TMC,
Here is a guide for removing the front bumper and headlights on a Tesla Model S. The process isn't very difficult but when you don't know where to start or what to expect it can be unnecessarily challenging so I hope this thread takes the uncertainty out of the process.
Please understand this is a guide and intended to help but please take responsibility for your actions and use at your own risk. I recommend reading the entire guide before starting the process. Thanks to @SPXMike for lending his Model S and making this possible.
Evan
Tools:
- 10mm nut driver or 10mm socket w/ driver
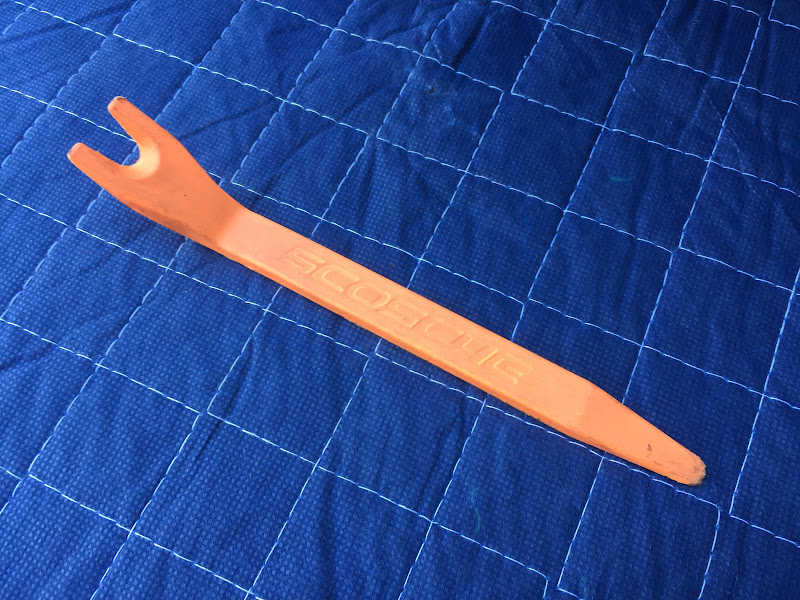
- Interior trim tool or flathead screwdriver
- T20 Torx bit w/ driver
- Blanket, optional but recommended
- Blue Locktite, optional but recommended
- Painters Tape, optional but recommended
- Microfiber towel and quick detailer, optional but recommended
It is a good idea to wash the vehicle before the process as you will be contacting the bumper, fender, and hood.
Clear car, blankets down, let's begin...

Raise the suspension up to the highest setting

With the suspension raised it will make access under the car and in the wheel well easier

The chin spoiler is connected to the underbody panel with some pop rivets
Using an interior trim tool or screwdriver lift and remove the rivets
There are 10 rivets total, only 7 are circled in this photo the passenger side has 3 rivets (2 blue 1 yellow) in the same orientation

There is some variation between the rivets, the picture below represents their location when installed

Once all 10 rivets are removed you can move to the wheel wells, use your T20 Torx bit to remove the screws connecting the bumper to the fender, there is one per wheel well

Next, pop the frunk and remove the trim panels. To remove pull up on the outer edge by the fender and then up and away from the frunk, I had success starting near the hood hinge.

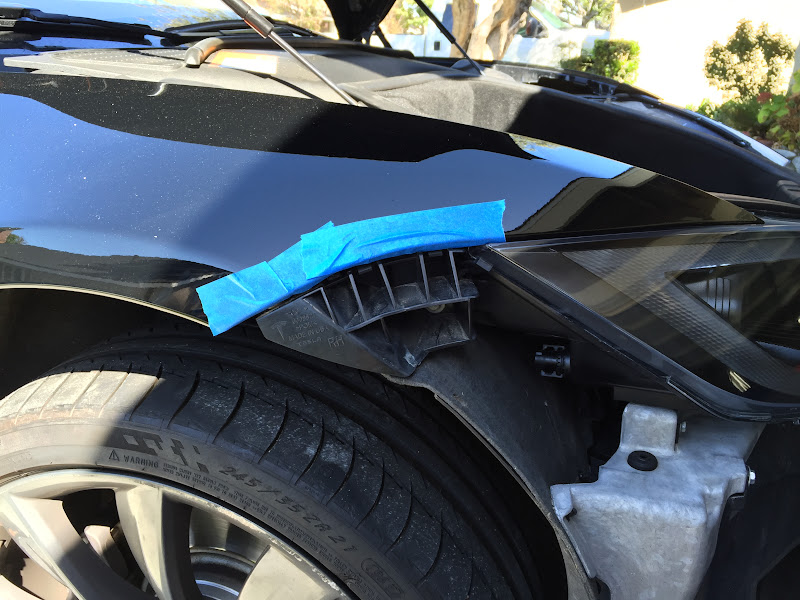
This is the back side of the passenger trim. Note the 3 guides (red), the hole for the rubber hood-rest (blue), and plastic rivet (green)

After the larger frunk trims (FRUNKTRIMS! lol ...what the frunk?) are removed there will be 2 small trim pieces located by the hood latch. Removing these may not be necessary but it seemed like a good idea to get them out of the way

Use a pry tool to help you release the rivets (white) located on the bottom

Rivet detail

Remove 10mm bolts by the front of each headlight (2 total)

Looking forward towards the rear of the passenger side headlight you can see the electrical connector for the bumper (yellow) and the headlight (red)
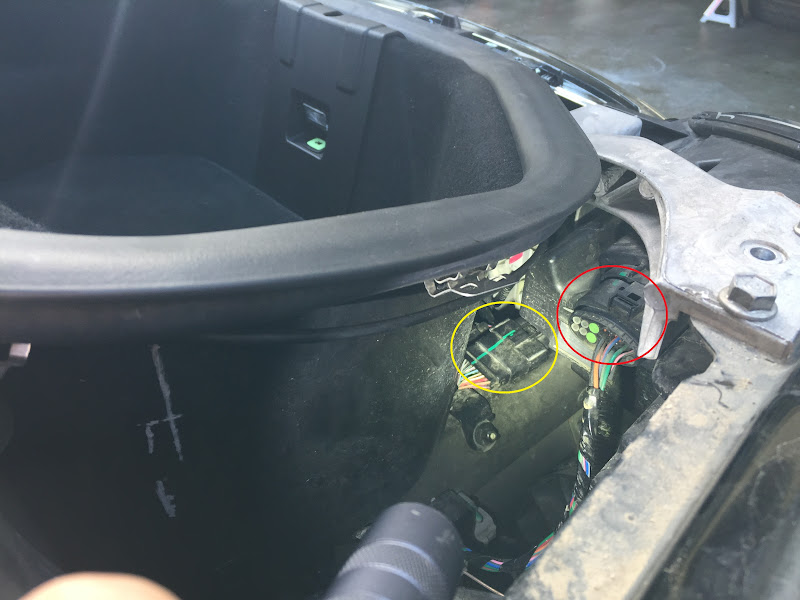
The connector for the bumper has 3 clips which hold it in place. Disconnect the bumper connector and release the 3 clips guiding the cable. On Mike's car the cable was already removed from a previous mechanic and 2 clips were missing but you get the idea.

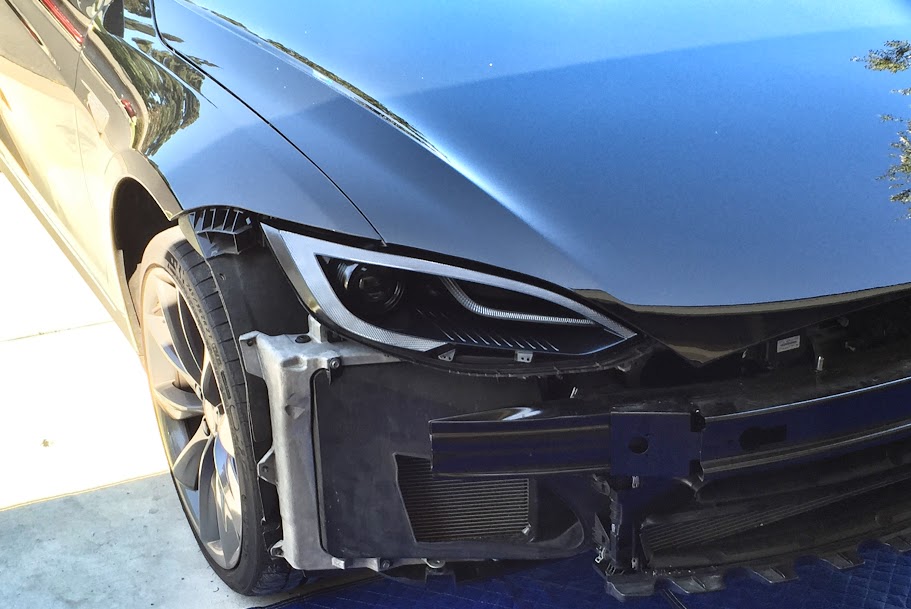
The electrical connector for the bumper can be hard to reach and release so if you are having trouble there is another way to go about it. Make sure the 3 cable guides are released and before removing the bumper, set the air suspension to "low." When the bumper is removed (and cable still connected) if the car is lowered there should be enough slack in the cable to allow the bumper to rest on the ground and give enough room to access the headlights, Disconnecting the cable and completely removing the bumper is recommended. Here is a picture of the bumper off but cable still connected.

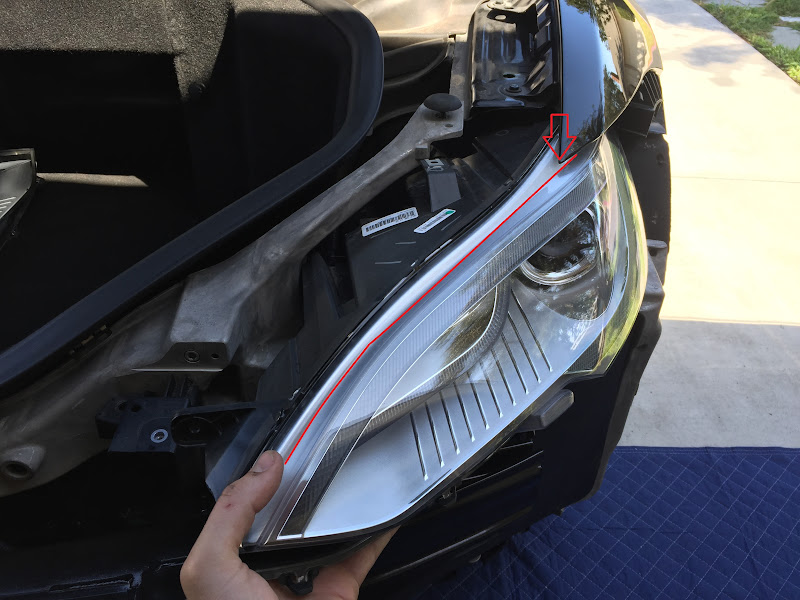
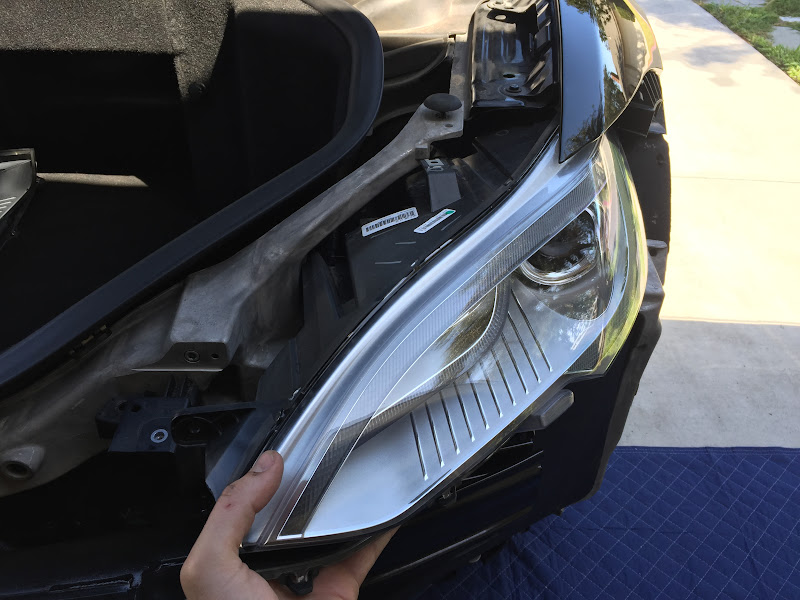
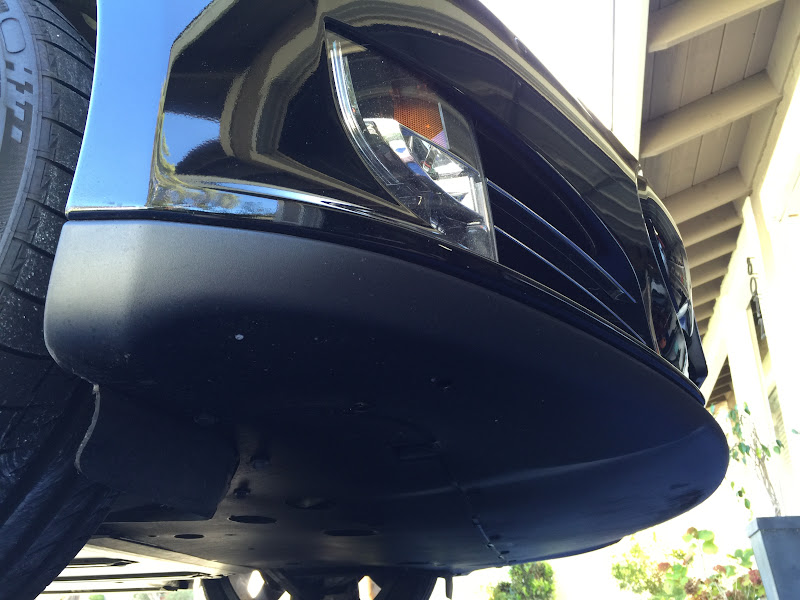
The R and L corners of the bumper are held in place with a bumper bracket, the bracket has some hooks, the bumper can be removed by gently working the bumper away from the bracket starting at the rear and then lift the edges of the bumper up and away from the brackets.

Once the bumper is free from the brackets the entire unit can be removed, this is best done with 2 people but can be done solo if you are careful. The bumper has a fair amount of heft to it with the fog lights and active cooling and wants to rotate backwards when free (top of bumper rotates towards car and chin spoiler away from car) so keep this in mind and protect both the bumper and fenders from unwanted contact. Bumper removed.

Here is a guide for removing the front bumper and headlights on a Tesla Model S. The process isn't very difficult but when you don't know where to start or what to expect it can be unnecessarily challenging so I hope this thread takes the uncertainty out of the process.
Please understand this is a guide and intended to help but please take responsibility for your actions and use at your own risk. I recommend reading the entire guide before starting the process. Thanks to @SPXMike for lending his Model S and making this possible.
Evan
Tools:
- 10mm nut driver or 10mm socket w/ driver
- Interior trim tool or flathead screwdriver
- T20 Torx bit w/ driver
- Blanket, optional but recommended
- Blue Locktite, optional but recommended
- Painters Tape, optional but recommended
- Microfiber towel and quick detailer, optional but recommended
It is a good idea to wash the vehicle before the process as you will be contacting the bumper, fender, and hood.
Clear car, blankets down, let's begin...
Raise the suspension up to the highest setting
With the suspension raised it will make access under the car and in the wheel well easier
The chin spoiler is connected to the underbody panel with some pop rivets
Using an interior trim tool or screwdriver lift and remove the rivets
There are 10 rivets total, only 7 are circled in this photo the passenger side has 3 rivets (2 blue 1 yellow) in the same orientation
There is some variation between the rivets, the picture below represents their location when installed
Once all 10 rivets are removed you can move to the wheel wells, use your T20 Torx bit to remove the screws connecting the bumper to the fender, there is one per wheel well
Next, pop the frunk and remove the trim panels. To remove pull up on the outer edge by the fender and then up and away from the frunk, I had success starting near the hood hinge.
This is the back side of the passenger trim. Note the 3 guides (red), the hole for the rubber hood-rest (blue), and plastic rivet (green)
After the larger frunk trims (FRUNKTRIMS! lol ...what the frunk?) are removed there will be 2 small trim pieces located by the hood latch. Removing these may not be necessary but it seemed like a good idea to get them out of the way
Use a pry tool to help you release the rivets (white) located on the bottom
Rivet detail
Remove 10mm bolts by the front of each headlight (2 total)
Looking forward towards the rear of the passenger side headlight you can see the electrical connector for the bumper (yellow) and the headlight (red)
The connector for the bumper has 3 clips which hold it in place. Disconnect the bumper connector and release the 3 clips guiding the cable. On Mike's car the cable was already removed from a previous mechanic and 2 clips were missing but you get the idea.
The electrical connector for the bumper can be hard to reach and release so if you are having trouble there is another way to go about it. Make sure the 3 cable guides are released and before removing the bumper, set the air suspension to "low." When the bumper is removed (and cable still connected) if the car is lowered there should be enough slack in the cable to allow the bumper to rest on the ground and give enough room to access the headlights, Disconnecting the cable and completely removing the bumper is recommended. Here is a picture of the bumper off but cable still connected.
The R and L corners of the bumper are held in place with a bumper bracket, the bracket has some hooks, the bumper can be removed by gently working the bumper away from the bracket starting at the rear and then lift the edges of the bumper up and away from the brackets.
Once the bumper is free from the brackets the entire unit can be removed, this is best done with 2 people but can be done solo if you are careful. The bumper has a fair amount of heft to it with the fog lights and active cooling and wants to rotate backwards when free (top of bumper rotates towards car and chin spoiler away from car) so keep this in mind and protect both the bumper and fenders from unwanted contact. Bumper removed.